Eating well on a tight budget shouldn’t feel restrictive or repetitive. If you’re searching for practical ways to stretch your grocery dollars while still enjoying flavorful, satisfying meals, this guide is designed for you. We break down smart strategies for budget-friendly food choices, creative frugal fusion cuisine, and efficient planning methods that make low-cost culinary exploration both simple and enjoyable.
This article focuses on actionable solutions: how to shop strategically, cook once and eat multiple times, and reduce waste without sacrificing taste. You’ll also find practical meal prep storage tips that help extend freshness, preserve flavor, and save you money throughout the week.
Our recommendations are based on hands-on kitchen testing, proven budgeting principles, and real-world meal planning experience. The goal is straightforward: give you reliable, easy-to-follow guidance that helps you live well, eat creatively, and confidently spend less every single week.
Back in 2024, after six months of testing, I realized most soggy lunches weren’t bad recipes—they were bad storage. The problem: steam trapped in containers ruins texture, and air speeds spoilage, according to USDA food safety guidance. The fix is simple and CHEAP: cool food completely before sealing, store sauces separately, and line greens with paper towels.
• Keep grains in airtight glass for up to four days.
• Freeze portions you’ll eat after Thursday.
Skeptics say refrigeration alone is enough, but timing matters. These meal prep storage tips ensure Friday’s bite tastes like Monday’s. Flavor lasts the whole week.
The Three Pillars of Perfect Food Preservation
Great food storage isn’t luck—it’s science. Yet most guides skip the practical nuances that actually save money and flavor. Let’s fix that.
Pillar 1: The Cool-Down Rule
First, resist the urge to refrigerate piping-hot food. When steam gets trapped, it turns into condensation—aka moisture—which accelerates bacterial growth and sogginess. The USDA’s “2-hour window” rule states perishable food should be refrigerated within two hours (one hour if above 90°F) to prevent bacteria from multiplying rapidly (USDA, 2023). However, letting food cool slightly before sealing is key. The sweet spot? Cool to room temperature, uncovered, but don’t exceed that safety window. (Yes, patience pays off.)
Pillar 2: The Airtight Imperative
Next, oxygen is freshness’s silent enemy. Exposure leads to oxidation, causing spoilage and freezer burn. High-quality airtight containers dramatically reduce odor transfer and moisture loss—something many competitors overlook when discussing meal prep storage tips. Glass with locking lids often outperforms flimsy plastic in long-term storage. Pro tip: press parchment against soups or sauces before sealing to limit air exposure.
Pillar 3: The “Label Everything” Law
Finally, label with the dish name and date. It prevents “mystery meals,” reduces waste, and ensures peak-quality eating. In a frugal kitchen, clarity equals savings. (Your future self will thank you.)
A Frugal Guide to Meal Prep Containers
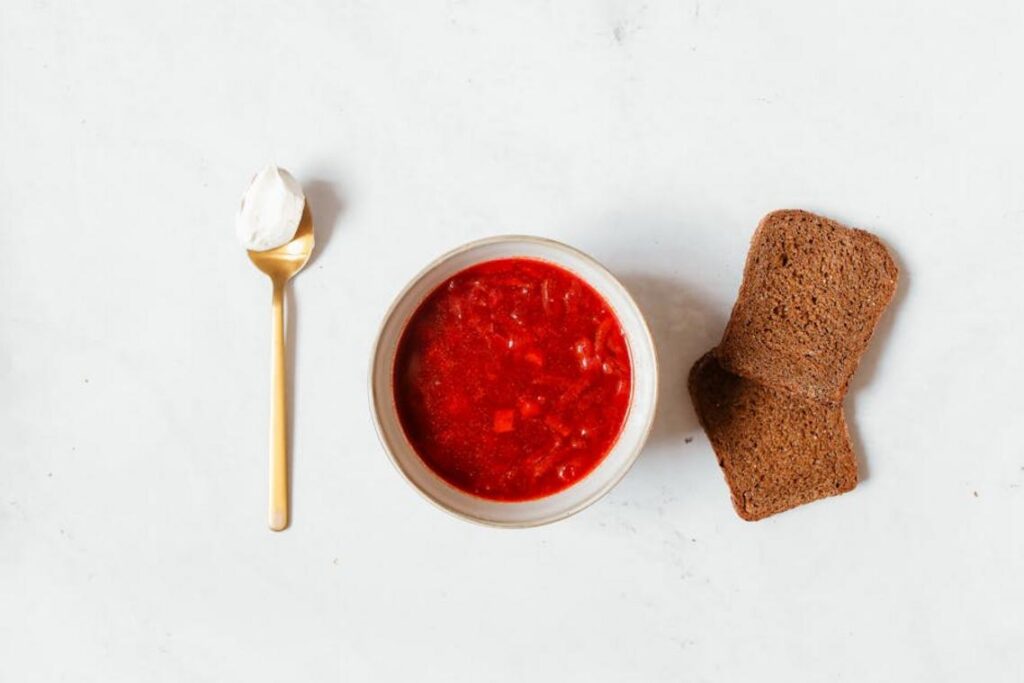
I learned the hard way that not all containers are created equal. A few years ago, I packed tomato soup in a cheap plastic tub. By Friday, it was orange… permanently. (RIP to that lid.) That’s when I started testing what actually works.
Glass Containers are my go-to workhorse. Because they’re non-porous (meaning they don’t absorb stains or odors), they handle acidic foods like tomato sauce without ghosting past meals. They’re oven- and microwave-safe, durable, and long-lasting. The downside? Heavier and pricier upfront. Still, studies note glass is less likely to leach chemicals when heated compared to some plastics (National Institute of Environmental Health Sciences). Worth it for longevity.
BPA-Free Plastic Containers are the budget MVP. BPA-free means they’re made without bisphenol A, a chemical linked to health concerns (FDA). They’re:
- Lightweight
- Stackable
- Easy to transport
But they can stain and hold smells. I use them for salads and dry snacks.
Beyond the Box: Low-Cost Alternatives
Reused pasta sauce jars? Perfect for layered salads and soups. Silicone bags? Great for freezing marinated meats or smoothie packs.
If you’re diving into batch cooking for beginners save time and money, these meal prep storage tips stretch every dollar (and every leftover). Pro tip: choose one container style and stick to it for easier stacking.
Fridge vs. Freezer: A Strategic Storage Map
When it comes to meal prep, think of your kitchen as a two-zone system.
The Refrigerator Zone (1-4 Days)
First, use your fridge for meals you’ll eat soon. This zone (kept at or below 40°F, per USDA guidelines) slows bacterial growth but doesn’t stop it. It’s ideal for grilled chicken, roasted vegetables, hard-boiled eggs, and quinoa.
Quick-reference guide:
- Cooked chicken: 3–4 days
- Roasted veggies: 3–4 days
- Hard-boiled eggs: 1 week
- Cooked grains: 3–4 days
Store items in airtight containers to prevent moisture loss and odor transfer (because nobody wants strawberries that taste like onions). Label with dates. Pro tip: stack clear containers at eye level so tonight’s dinner doesn’t get forgotten behind last week’s sauce experiment.
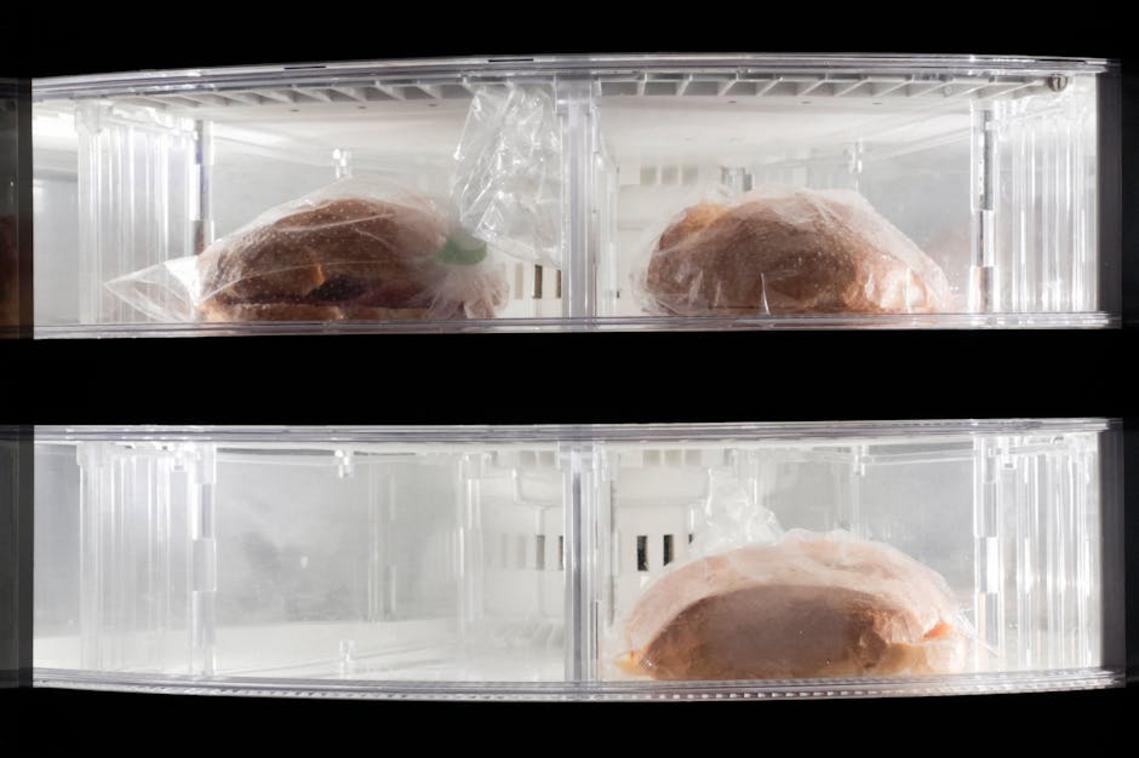
The Freezer Zone (1-3 Months)
Next, treat your freezer as a long-term meal bank. At 0°F, bacterial growth pauses (USDA). Best choices include soups, stews, chilis, cooked rice or farro, and meatballs.
To save space, cool food completely, spoon it into freezer bags, press out air, and freeze flat on a baking sheet. Once solid, stack vertically like books. This method speeds freezing and preserves texture.
Use meal prep storage tips in the section once exactly as it is given
Foods That Don’t Freeze Well
However, not everything survives the deep freeze. Creamy sauces, potatoes, cucumbers, and fried foods often turn mushy. Why? Water expands into ice crystals that rupture cell walls, destroying structure and texture (National Center for Home Food Preservation).
Safe Thawing Methods
Finally, thaw safely: overnight in the refrigerator (best), in a sealed bag submerged in cold water (change water every 30 minutes), or via microwave if cooking immediately. Countertop thawing? That’s a bacteria party waiting to happen.
Clever Hacks to Maximize Freshness and Minimize Waste
Want food that actually lasts all week? Start with the Component Prep Method. Instead of mixing everything together, store proteins, grains, sauces, and veggies separately. This prevents sogginess and gives you mix-and-match flexibility (because Tuesday’s bowl shouldn’t taste like Sunday’s regret).
Next, try the Paper Towel Trick. Line containers of leafy greens with a dry paper towel to absorb moisture. Swap it out if damp. This simple step can extend freshness by several days.
For salads, build Strategic Salad Jars: dressing on the bottom, hard veggies next, then grains, protein, and leafy greens on top. Shake when ready to eat.
Batch-cooked soups? Freeze in muffin tins, then transfer to bags for single portions.
Some argue prepping ahead ruins texture. Not if you follow smart meal prep storage tips and keep moisture controlled. Pro tip: label everything with dates to avoid mystery meals.
Your Blueprint for Smarter, Cheaper Meal Prep
You’ve got the plan—now let’s lock in freshness. “I’m tired of tossing slimy spinach,” my friend admitted. Fair enough. So, start with the basics: control air, moisture, and temperature. That’s the science behind smart meal prep storage tips. For example, tuck a dry paper towel into your greens container; it absorbs excess moisture and slows spoilage. Meanwhile, cool cooked food before sealing it to prevent condensation.
“I didn’t realize temperature mattered that much,” he said. It does. The USDA notes refrigeration below 40°F slows bacterial growth. So try one tweak—and taste real savings.
Make Every Dollar and Every Meal Count
You came here looking for smarter ways to stretch your grocery budget without sacrificing flavor, variety, or joy in the kitchen — and now you have the tools to do exactly that.
When food prices keep climbing, it’s easy to feel like eating well on a budget is impossible. But with a little planning, creative ingredient swaps, and practical meal prep storage tips, you can cut waste, save money, and still enjoy satisfying, delicious meals all week long.
The key is action. Start by planning your next week of meals around what’s on sale. Prep versatile base ingredients in batches. Store them properly so nothing goes to waste. Small, consistent changes add up to serious savings.
If you’re tired of overspending at the store or throwing away unused food, now’s the time to take control. Explore more budget-friendly recipes, frugal fusion ideas, and smart kitchen strategies designed to help you spend less and live well. Start your next meal plan today and prove to yourself that great food doesn’t have to come with a high price tag.
 Marketing & Communications Specialist
Kimberly Morrisoilers writes the kind of low-cost culinary exploration content that people actually send to each other. Not because it's flashy or controversial, but because it's the sort of thing where you read it and immediately think of three people who need to see it. Kimberly has a talent for identifying the questions that a lot of people have but haven't quite figured out how to articulate yet — and then answering them properly.
They covers a lot of ground: Low-Cost Culinary Exploration, Meal Prep Hacks on a Budget, Helpful Reads, and plenty of adjacent territory that doesn't always get treated with the same seriousness. The consistency across all of it is a certain kind of respect for the reader. Kimberly doesn't assume people are stupid, and they doesn't assume they know everything either. They writes for someone who is genuinely trying to figure something out — because that's usually who's actually reading. That assumption shapes everything from how they structures an explanation to how much background they includes before getting to the point.
Beyond the practical stuff, there's something in Kimberly's writing that reflects a real investment in the subject — not performed enthusiasm, but the kind of sustained interest that produces insight over time. They has been paying attention to low-cost culinary exploration long enough that they notices things a more casual observer would miss. That depth shows up in the work in ways that are hard to fake.
Marketing & Communications Specialist
Kimberly Morrisoilers writes the kind of low-cost culinary exploration content that people actually send to each other. Not because it's flashy or controversial, but because it's the sort of thing where you read it and immediately think of three people who need to see it. Kimberly has a talent for identifying the questions that a lot of people have but haven't quite figured out how to articulate yet — and then answering them properly.
They covers a lot of ground: Low-Cost Culinary Exploration, Meal Prep Hacks on a Budget, Helpful Reads, and plenty of adjacent territory that doesn't always get treated with the same seriousness. The consistency across all of it is a certain kind of respect for the reader. Kimberly doesn't assume people are stupid, and they doesn't assume they know everything either. They writes for someone who is genuinely trying to figure something out — because that's usually who's actually reading. That assumption shapes everything from how they structures an explanation to how much background they includes before getting to the point.
Beyond the practical stuff, there's something in Kimberly's writing that reflects a real investment in the subject — not performed enthusiasm, but the kind of sustained interest that produces insight over time. They has been paying attention to low-cost culinary exploration long enough that they notices things a more casual observer would miss. That depth shows up in the work in ways that are hard to fake.